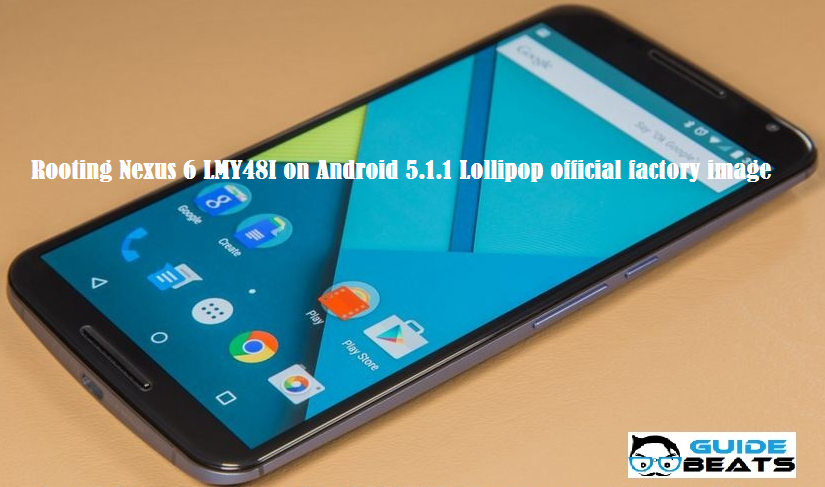
Hi friends if you have recently updated your Nexus 6 LMY48I on Android 5.1.1 Lollipop official factory image manually or by OTA and now you may want to root your device with a simple and easy method, so use our today’s guide which is about how to root Nexus 6 LMY48I on Android 5.1.1 Lollipop official factory image – it is very simple and easy to root Nexus 6 LMY48I just follow our guide step by step to do the task
In fact Nexus 6 Motorola is one of the best smartphones in this series; Nexus 6 has the latest trends of technology and is a combination of high-quality hardware along with user-friendly software.

Note: This guide is only for Nexus 6 LMY48I on Android 5.1.1 Lollipop official factory image, don’t try it on other smartphones, also we guidebeats are not responsible for any damage caused by using these steps, try it on your own risk.
Preparation:
1. Download “Wug’s Nexus Root Toolkit v2.0.5” this is a one-click tool for rooting Nexus6 Download Link
2. Phone battery charge level at least 60%
3. Take a full backup of all your important data prior to starting the rooting process
4. An original or good quality USB data cable to connect your phone to your computer.
5. Install USB driver for your smartphone. Download Link
6. USB Debugging mode must be enabled, to copy files to your phone from the PC
Steps for how to Root Nexus 6 LMY48I on Android 5.1.1 Lollipop official factory image
1. Connect Nexus 6 to the PC, wait for movement your computer will detect it automatically.
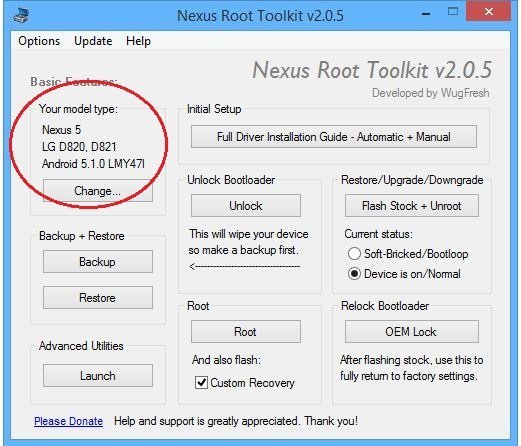
2. NOW install and OPEN flashing toolkit “Wug’s Nexus Root Toolkit v2.0.5” in a few seconds the toolkit will also recognize your Nexus 6.
3. Check your phone model and firmware information in the upper corner of the toolkit
4. Then click on Root button on the toolkit screen window to start rooting.
*To unlock bootloader click on Unlock Button.
NOW you can also check the root access status by downloading any root checker from Play Store
That’s it, now your Nexus 6 is rooted and you can install custom ROM and Recovery.
Thanks


![Install Android N Developer Preview on Nexus Latest Devices [Nexus 6, Nexus 6P, Nexus 5X, Nexus 9, and Nexus Player] Install Android N Developer Preview on Nexus Latest Devices](https://d13porlzvwvs1l.cloudfront.net/wp-content/uploads/2016/03/Install-Android-N-Developer-Preview-on-Nexus-Latest-Devices.jpg)


![Update Huawei P8 UL10 to Marshmallow B317 Preview Firmware [Germany] Update Huawei P8 UL10 to Marshmallow B317 Preview Firmware](https://d13porlzvwvs1l.cloudfront.net/wp-content/uploads/2016/03/Update-Huawei-P8-UL10-to-Marshmallow-B317-Preview-Firmware.jpg)
Leave a Comment